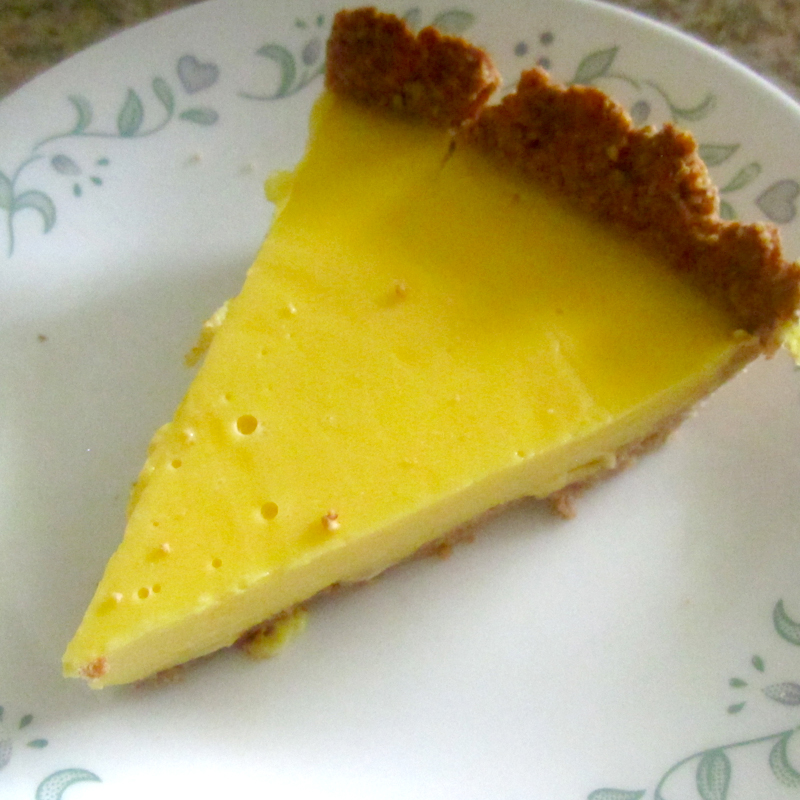
Silky and Nutty Lemon Pie
Woohoo another recipe post! Are you excited?
I am so happy that I finally finished up this recipe post. Believe me, I’ve been hoarding this recipe to myself because I’ve been lazy to actually sit down and put this together.
Before I started, have you checked out Debby’s new Low Carb Melt-In-Your-Mouth Lemon ‘Chiffon’ Poppy Seed Cake recipe? That recipe is the bomb and I’ve been making it numerous times!
So in the end I was left with all these yolks and I was brainstorming on how to use all the yolks. Then I remembered this recipe and I thought up a way to make it without using too much nuts for the crust as I didn’t have much in my pantry.
I’ve made this recipe three times and I’ve shared them with my co-workers twice. Everyone was raving it and a lot of them thought it was Lemon Cheesecake. HA! The look could be so deceiving, right?!

Without further mumbo jumbo, here’s the recipe! Let me know in the comment if you’re trying it and see how you like it.
Trust me, this pie is very rich that 1 slice is enough for me. But if you want to have 2 slices, be my guest!
PS: Hubby loves it too. In fact, that’s why I made it for our 7th year Anniversary too!
Some ingredients that you might need:
Coconut Flour
Whole Almonds
Whole Hazelnuts
Pure Lemon Extract
SweetLeaf Vanilla Creme Stevia
Aroy D Coconut Milk
Silky & Nutty Lemon Pie
 Print recipe
| Serves | 8 |
| Prep time | 15 minutes |
| Cook time | 20 minutes |
| Total time | 35 minutes |
| Allergy | Egg, Tree Nuts |
| Dietary | Dairy Free, Gluten Free, Paleo, ultra low carb |
| Meal type | Dessert, Snack |
| Misc | Pre-preparable, Serve Cold |
| Occasion | Birthday Party, Casual Party, Easter, Valentines day |
| Region | American |
Ingredients
Pie Crust
- 1/2 cup coconut flour
- 1/2 cup whole almonds
- 1/4 cup whole hazelnuts
- 1/2 teaspoon baking powder
- 1 pinch salt
- 1/4 cup melted coconut oil
Pie Filling
- 10 Large egg yolks
- 3/4 cups full fat coconut milk
- 1/4 cup unsweetened almond milk
- 1/4 cup water
- 1/4 cup freshly squeezed lemon juice
- 1/4 cup erythritol
- 1 teaspoon SweetLeaf Vanilla Creme Stevia
- 2 teaspoons agar powder (You could use gelatin powder as well)
Pie Filling (Optional)
- 1 teaspoon lemon extract (I love things to be a bit tart)
Directions
| Pie Crust | |
| Step 1 | |
| Preheat oven to 350ºF. | |
| Step 2 | |
| Grind almonds and hazelnut in a food processor. Pulse until they are nicely ground but don't get too crazy or you'll end up having nut butter (almond/hazelnut butter sounds yummy btw!) | |
| Step 3 | |
| Mix the grounded nuts with coconut flour, baking powder, salt until they are incorporated. | |
| Step 4 | |
| Pour in 1/4 cup melted coconut oil and mix until they become paste. | |
| Step 5 | |
|
Carefully, mold the nut/coconut flour paste in a 9" aluminum pie pan or any pie pan you have. Make sure to have the edges slightly thicker than the bottom. |  |
| Step 6 | |
|
Prick the crust with fork |  |
| Step 7 | |
|
Bake the crust for 10-15 minutes in 350ºF. Keep an eye after 10 minutes as it could turn from golden brown to be burnt in a blink of eye! Let it cool and set aside and now let's make the filling! |  |
| Pie Filling | |
| Step 8 | |
| Mix coconut milk, almond milk, water, erythritol, stevia, lemon juice, lemon extract (if using), agar powder (or gelatin powder) in a saucepan, heat up with medium heat. Keep stirring until mixture starts to bubble. Turn off the heat and set aside. Note: I personally never use gelatin powder but I heard you don't need to heat up the liquid to activate the gelatin. Agar powder however needs to be heat up in order to activate it. | |
| Step 9 | |
| On a separate bowl, whisk egg yolks until they all incorporated. | |
| Step 10 | |
|
Scoop out 1 Tbsp of the hot mixture into the egg yolk. Carefully whisking them as we are trying to temper the yolks. Be careful not to pour all the hot liquid at once or you'll end up with scrambled yolks! After all the hot coconut milk mixture incorporated into the yolks, the mixture should look yellow and smooth without any lumps. |  |
| Step 11 | |
|
By this time, the crust should be cooled down. Carefully pour all the pie filling into the crust. |  |
| Step 12 | |
|
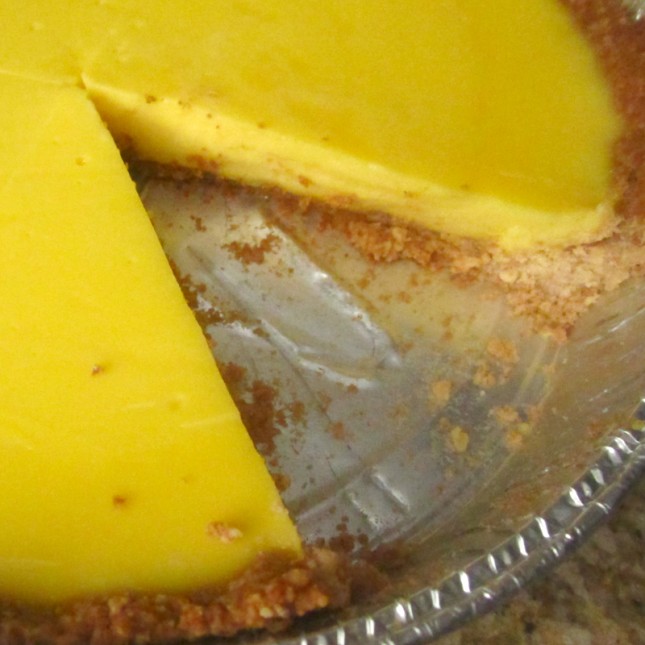
The filling should start getting firm once it cools down. When it's already in room temperature, cover with plastic wrap and refrigerate. The pie tastes the best when it comes out straight from the fridge! |  |
Note
Macros per slice:
Fat 24gr
Protein 8gr
Net Carb 5gr